Follow Me On Social Media!

Peppermint Bark Recipe: Irresistibly Festive and Easy to Make
Introduction to Peppermint Bark Recipe
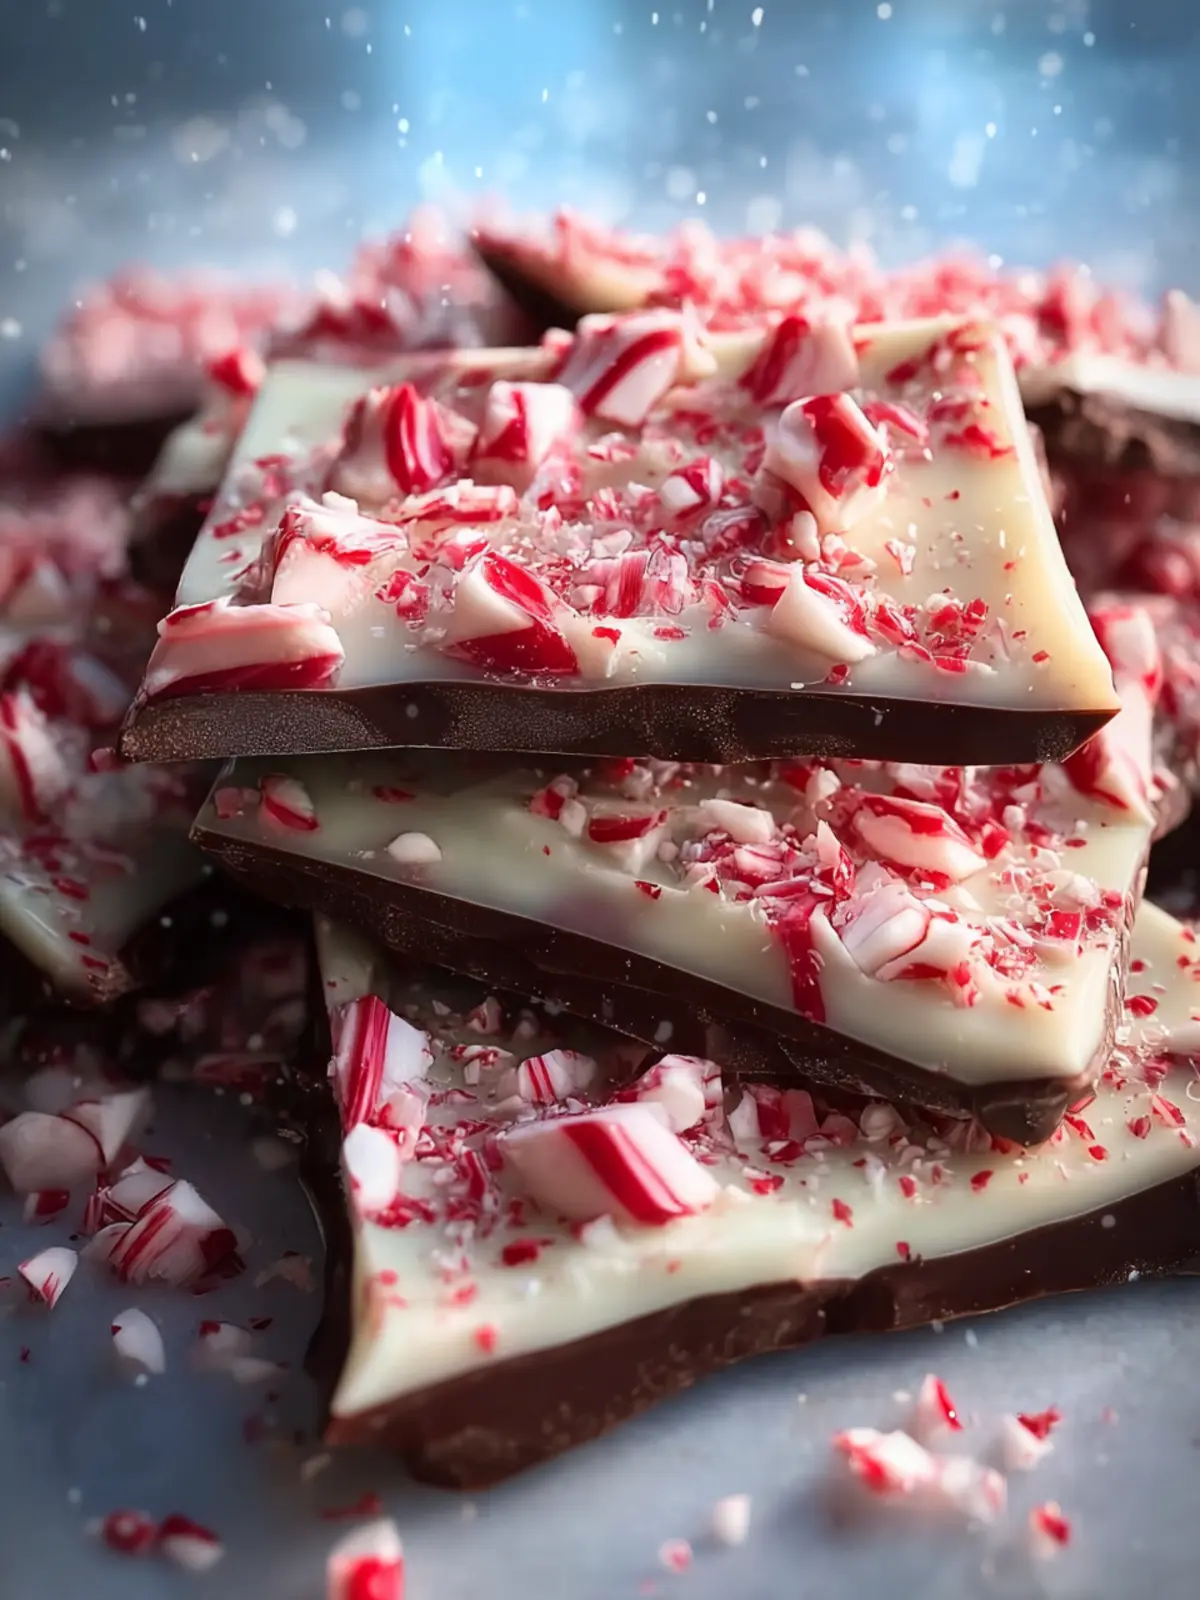
Creating a delightful peppermint bark recipe is like wrapping up the spirit of the holidays in a delicious chocolatey package. From the moment you break a piece of this festive treat, you’re not just enjoying a dessert—you’re reliving memories of joyful gatherings, cozy evenings by the fire, and the unmistakable scent of peppermint wafting through the air. It’s a dessert that combines richness and crunch, making it a holiday favorite for many.
What makes peppermint bark so special?
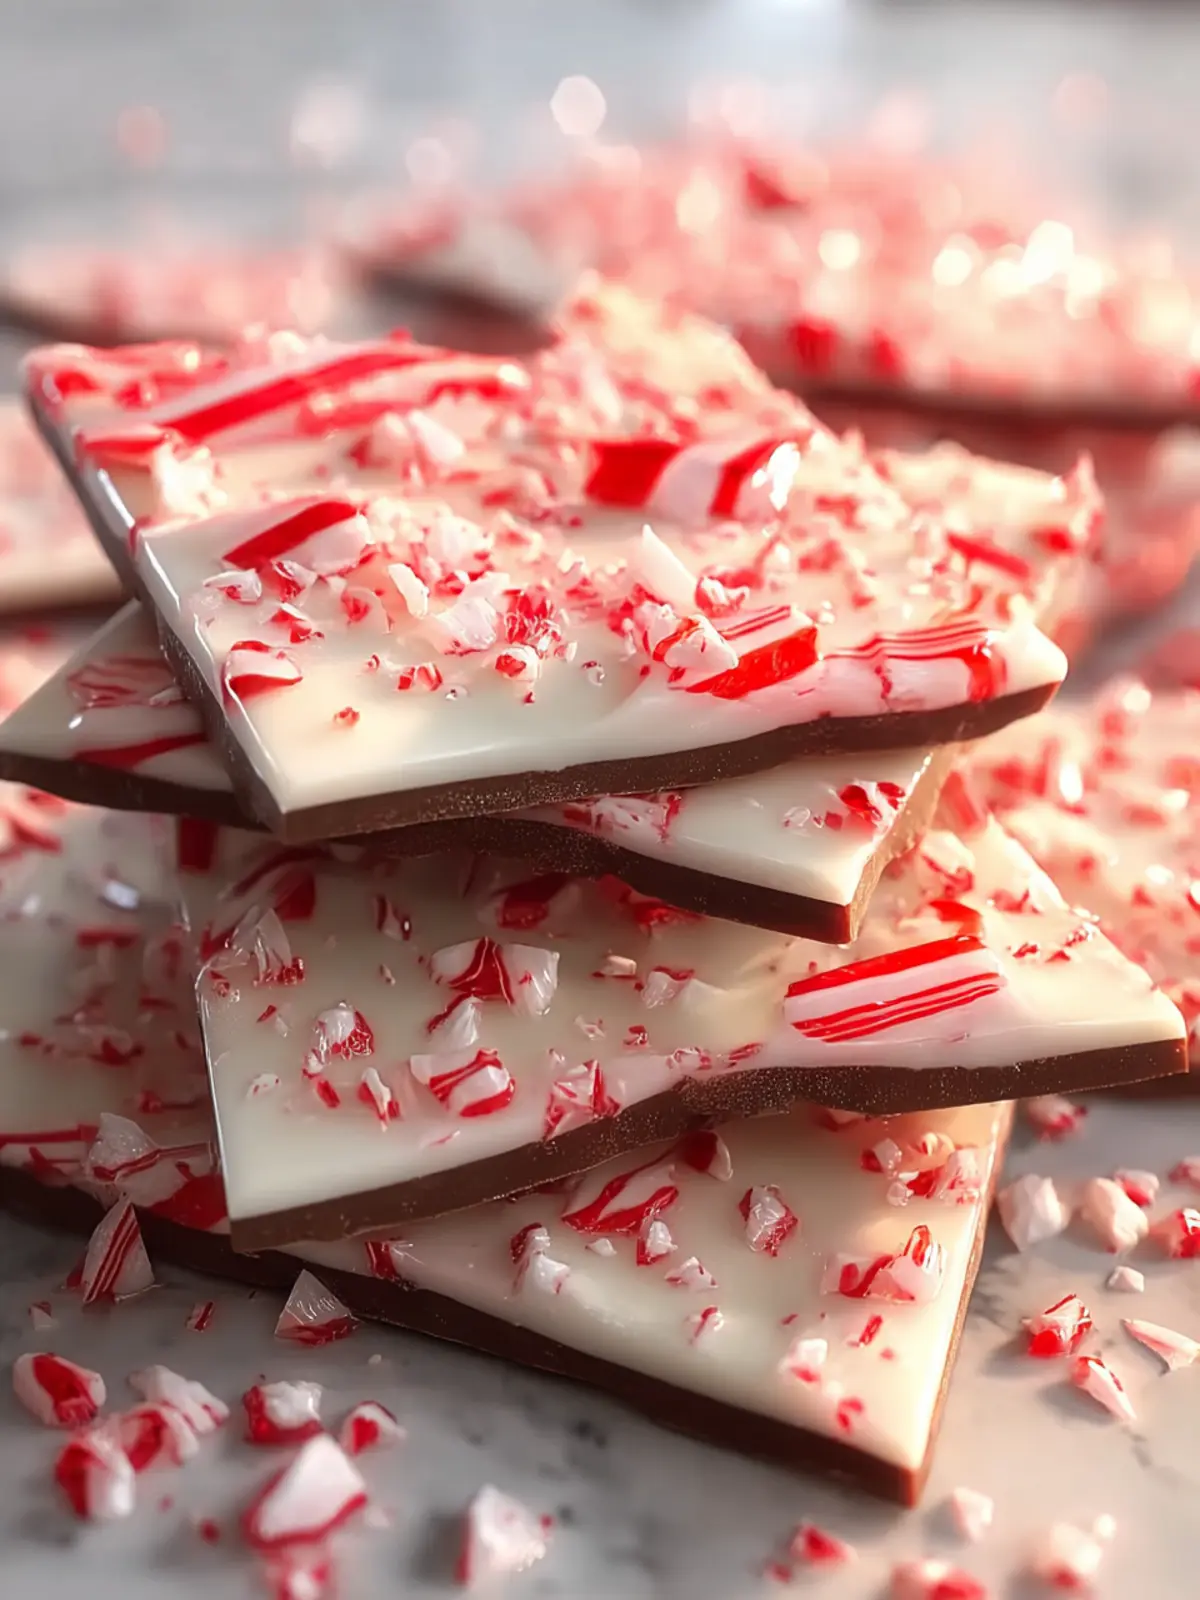
First off, its beautiful layers of dark and white chocolate create a visual treat that draws everyone in. But it’s not just about looks; the combination of smooth chocolate juxtaposed with the crispness of crushed peppermint candy creates a symphony of flavors that’s hard to resist. This dessert often appears at holiday parties and is exchanged as gifts, symbolizing generosity and the joy of sharing.
Additionally, making peppermint bark is a straightforward process that invites creativity. You can customize it to fit your taste—whether you prefer using dark, milk, or even white chocolate—or experiment with adding other toppings or spices for a unique twist. The thrill of making your own peppermint bark can be as gratifying as indulging in its sweet bliss.
Moreover, this recipe easily accommodates large batches, making it perfect for entertaining or gift-giving. Picture a beautifully wrapped box of homemade peppermint bark as a thoughtful gesture to friends and family. Not only does it save you a trip to the store, but it’s also a heartfelt way to spread cheer during the holidays.
As you embark on this peppermint bark journey, consider the joy it brings to those around you. So let’s gather our ingredients and get ready to whip up a batch of festive delight that will charm both the young and the young at heart.
Key Ingredients for Peppermint Bark
Imagine cozying up with a warm drink, a chill in the air, and the festive aroma of peppermint filling your kitchen. That’s what making this peppermint bark recipe is all about—simple ingredients coming together to create a deliciously magical treat.
Chocolate: The star of the show! For a rich and indulgent flavor, I recommend using high-quality dark chocolate paired with creamy white chocolate. Dark chocolate provides a lovely bitter contrast to the sweetness of the peppermint and white chocolate.
Peppermint Extract: This ingredient takes your bark to the next level. It infuses that signature minty flavor we all crave during the holidays. A little goes a long way, so start with a teaspoon and adjust based on your personal taste.
Candy Canes: Crushed candy canes add not only flavor but also that delightful crunch and festive color. I prefer to use traditional red and white candy canes, but you can also try flavored ones for a twist.
By focusing on these essential ingredients, you’ll whip up a peppermint bark recipe that’s sure to enchant your friends and family this season.
Why You’ll Love This Peppermint Bark Recipe
There’s just something magical about a peppermint bark recipe that brings joy and nostalgia to the foreground. Picture this: it’s a chilly evening, and you’re cozy at home, the scent of chocolate wafting through the air. Creating this holiday classic isn’t just about satisfying your sweet tooth; it’s an experience that wraps you in warmth and cheer.
A Simple Yet Delightful Treat
One of the best aspects of this peppermint bark recipe is its simplicity. With just a handful of ingredients—dark chocolate, white chocolate, and crushed peppermint—you can whip up a decadent treat that looks as good as it tastes. If you’re looking for a stress-free way to impress your friends or family during gatherings, this recipe fits the bill perfectly.
Perfect for Any Occasion
What makes this peppermint bark so versatile is its adaptability. Whether it’s the holiday season or a summer potluck, this treat delivers festive flavor year-round. You can even personalize it by adding more toppings like nuts or seasonings for that extra flair.
So grab your gathering friends or family, indulge in this recipe, and watch as everyone reaches for a piece. Not only will you love making it, but you’ll find joy in sharing it even more.
Variations for Peppermint Bark
When it comes to my cherished peppermint bark recipe, versatility is the name of the game. This delightful treat easily adapts to your cravings or the occasion. Here are some engaging variations to try next time you make a batch.
Add Different Flavorings
The classic peppermint extract is unbeatable, but why limit yourself? Consider incorporating flavors like orange zest or almond extract for a refreshing twist. A hint of vanilla can also elevate the overall taste, making your peppermint bark unique.
Mix Up the Chocolate
While dark and white chocolate are the stars of the traditional recipe, experimenting with other types can be fun. Try using milk chocolate or even flavored chocolates like hazelnut. Combining different chocolates will create an indulgent layered look.
Include Add-Ins
Elevate your peppermint bark recipe further by adding crushed nuts, such as almonds or walnuts, for an extra crunch. Furthermore, a dash of sea salt on top complements the sweetness beautifully.
Try Different Toppings
What about a sprinkle of crushed candy canes or even fun sprinkles? You can jazz up a plain bark with colorful toppings that match the occasion, whether it’s a holiday party or a cozy movie night.
These variations allow your creativity to shine and make your peppermint bark a delightful tradition that’s always evolving!
Cooking Tips and Notes for Peppermint Bark
Creating the perfect peppermint bark is more than just melting chocolate and sprinkling candy canes. It’s a delightful process that brings the flavors of the holidays right to your kitchen! Here are some helpful tips to ensure your peppermint bark recipe turns out beautifully every time.
Choose Your Chocolate Wisely
Using high-quality chocolate makes a significant difference in flavor and texture. Opt for pure dark or semi-sweet chocolate for a rich base, while white chocolate gives sweetness that complements the peppermint. If you’re feeling adventurous, try mixing in a splash of flavored chocolate for a unique twist!
Get the Right Consistency
When melting chocolate, avoid overheating it. Use a double boiler or microwave in short bursts, stirring often, until smooth. If your chocolate seizes up, a teaspoon of vegetable oil can help restore its silky consistency.
Master the Peppermint Crush
For that iconic crunch, crush your peppermint candies just right. Use a zip-top bag and a rolling pin—gently tap to avoid finely ground powder. Larger chunks give a nice texture and visual appeal to your bark.
Layer It Right
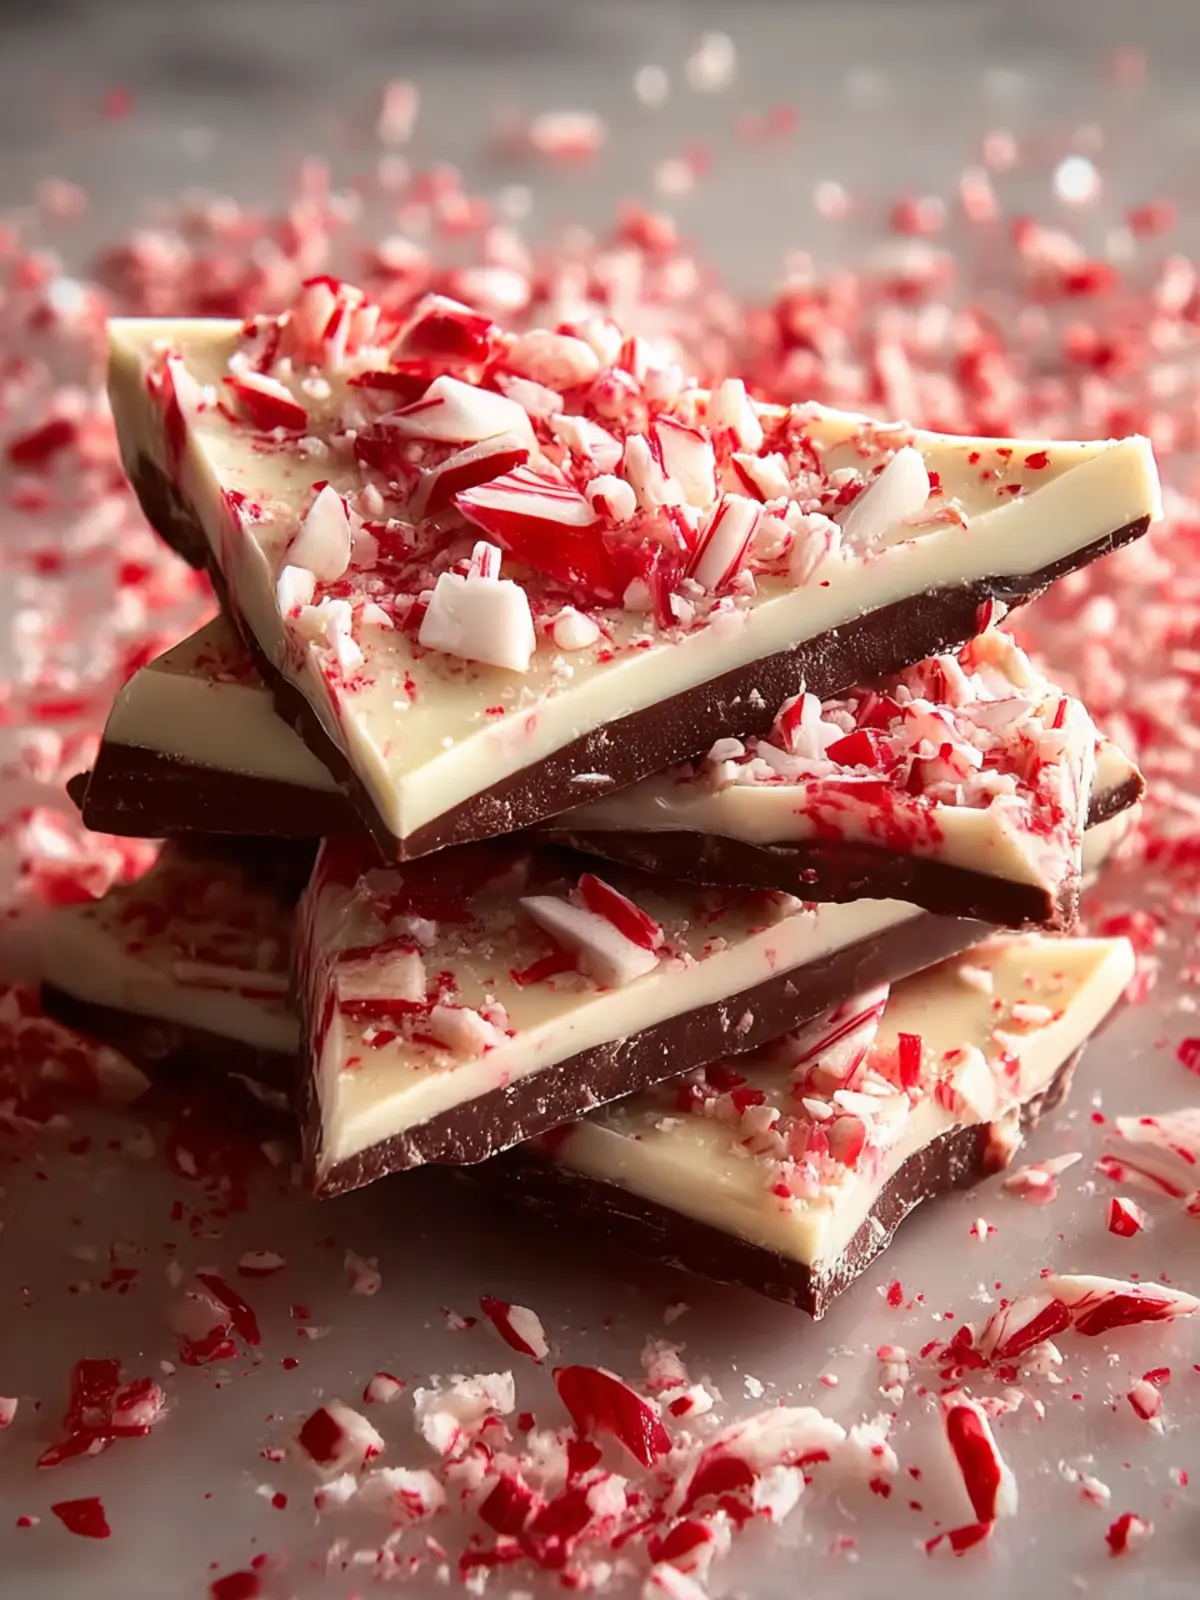
Spread your melted chocolate in an even layer on parchment paper. Pour the cooled white chocolate on top, then sprinkle the crushed peppermint before it sets. This ensures a beautiful marbled effect in each bite.
With these tips, your homemade peppermint bark will not only taste amazing but also look stunning, becoming the centerpiece of your holiday treats!
Serving Suggestions for Peppermint Bark
Every holiday season, peppermint bark transforms from a delightful treat into a cherished memory shared with friends and family. Imagine the kids gleefully unwrapping boxes of this festive candy, while adults savor the rich chocolate paired with a refreshing pop of peppermint. Whether served at a casual gathering or as a treasured gift, peppermint bark brings everyone together in joy.
To elevate your peppermint bark recipe, consider these serving suggestions:
-
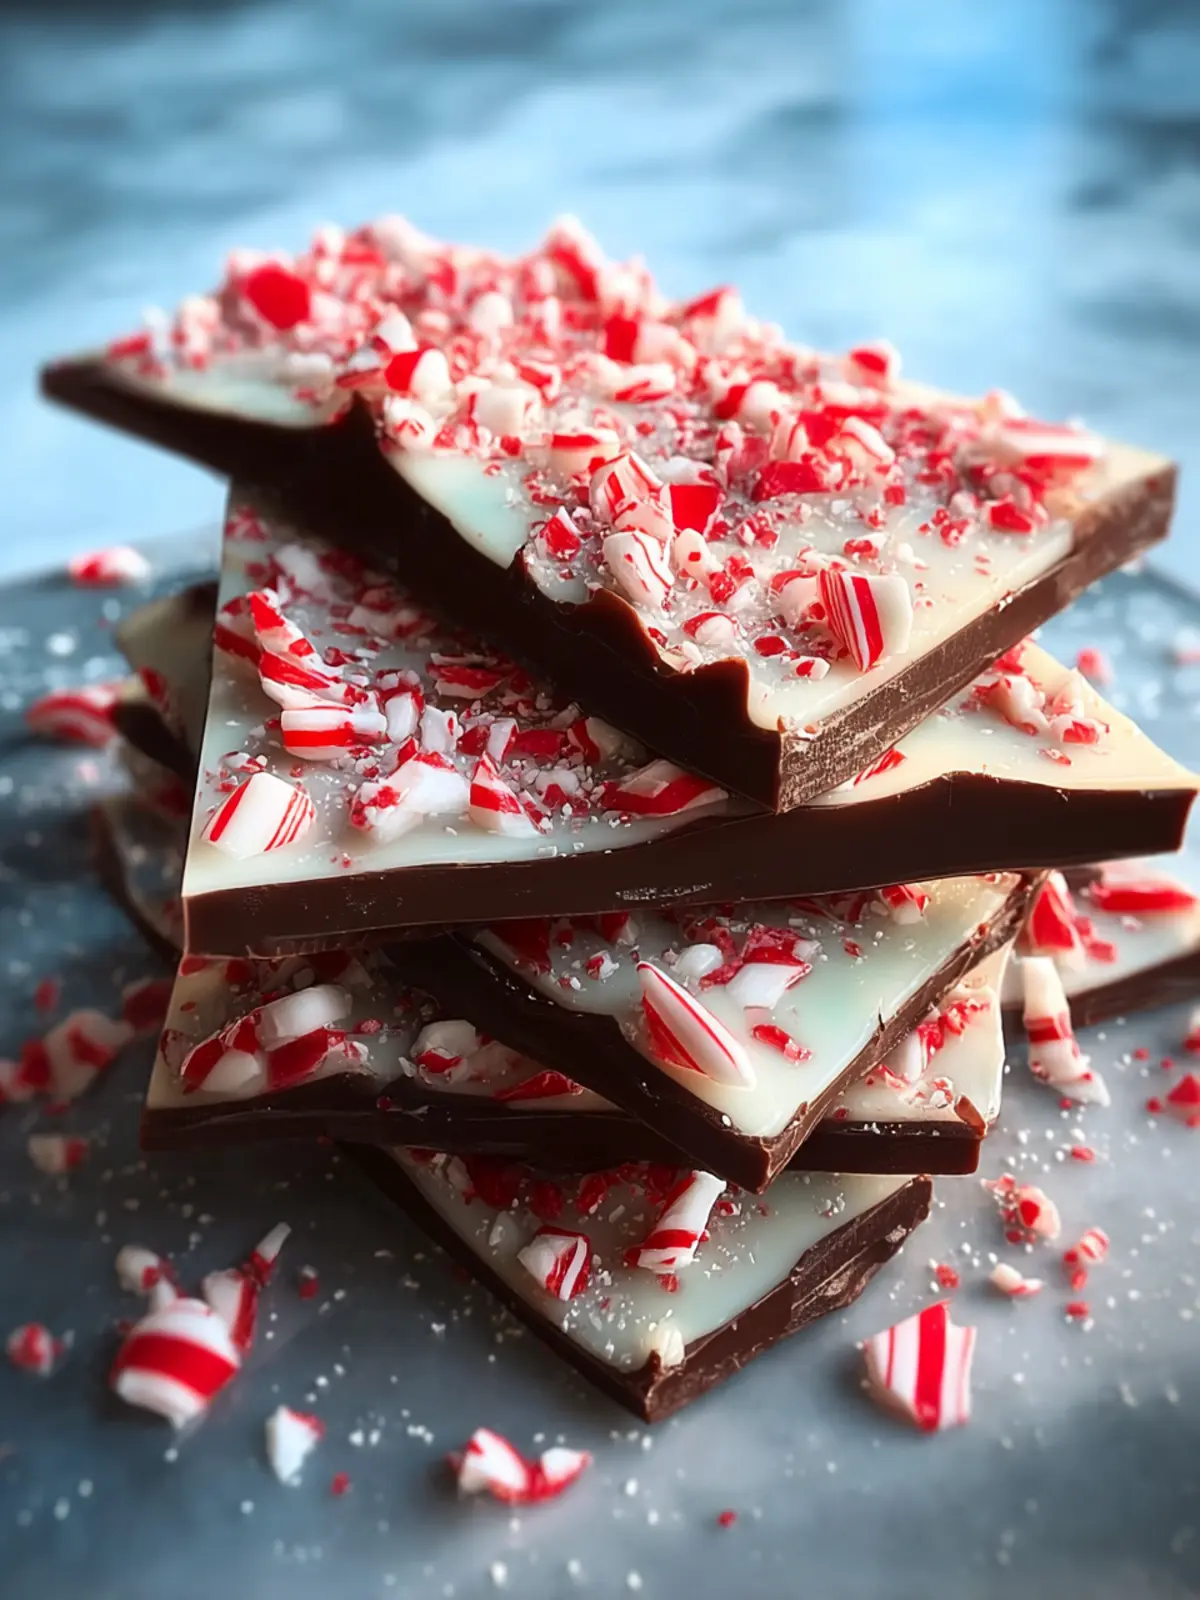
On a Festive Platter: Arrange the bark pieces on a vibrant plate sprinkled with crushed candy canes for a pop of color. It instantly draws attention and invites everyone to indulge.
-
As a Holiday Gift: Package your homemade bark in decorative tins or cellophane bags tied with ribbons. It makes for a thoughtful and charming gift for coworkers or holiday party hosts.
-
With Warm Drinks: Offer peppermint bark alongside coffee, hot chocolate, or even a festive cocktail. The chocolate and peppermint flavors complement warm beverages perfectly.
These simple touches can enhance your peppermint bark experience and create lasting memories this holiday season.
Print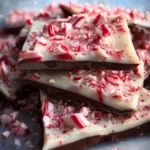
Peppermint Chocolate Bark
- Total Time: 1 hour
- Yield: 12 servings 1x
- Diet: Vegetarian
Description
A festive and delicious peppermint chocolate bark, perfect for the holidays or any special occasion.
Ingredients
Scale
- 12 oz high-quality dark chocolate (60-70% cacao), chopped into small pieces
- 1 teaspoon vanilla extract
- 12 oz white chocolate, chopped into small pieces
- ½ teaspoon peppermint extract (adjust to taste)
- 6–8 candy canes or peppermint candies, crushed into various-sized pieces
- Dairy-free option: Use dairy-free chocolate chips for both layers
- Sugar-free version: Replace with sugar-free chocolate alternatives
- Flavor variation: Try adding ½ teaspoon of orange or almond extract instead of peppermint
- Crunchy addition: Mix in crushed toffee pieces or chopped nuts for extra texture
Instructions
- Prepare Your Workspace: Line a 9×13-inch baking sheet with parchment paper, allowing some overhang on the sides for easy removal later. This overhang acts as handles and prevents any sticking issues. Make sure your workspace is clean and dry—chocolate can be temperamental around moisture.
- Melt the Dark Chocolate Base: Place your chopped dark chocolate in a microwave-safe bowl and heat in 30-second intervals, stirring between each session. This gentle heating prevents burning and keeps the chocolate smooth. Once almost completely melted, stir continuously until the residual heat melts any remaining chunks. Add the vanilla extract and stir until glossy and uniform.
- Spread the First Layer: Pour the melted dark chocolate onto your prepared baking sheet and use an offset spatula or the back of a spoon to spread it into an even layer about ¼-inch thick. You don’t need to fill the entire pan—aim for a roughly 9×11-inch rectangle. Smooth the top as evenly as possible for the best presentation. Place the pan in the refrigerator for 20-25 minutes until firm to the touch but not completely set.
- Prepare the Peppermint Topping: While your base layer chills, place your candy canes in a sealed plastic bag and gently crush them using a rolling pin or the bottom of a heavy glass. Create a variety of sizes—some fine powder and some larger chunks—for visual interest and different textural experiences in each bite.
- Melt and Flavor the White Chocolate: Using the same method as the dark chocolate, melt your white chocolate in 30-second microwave intervals, stirring frequently. Once smooth, stir in the peppermint extract. Taste a tiny bit (with a clean spoon) and adjust the extract if you prefer a stronger mint flavor.
- Create the Top Layer: Remove your chilled dark chocolate from the refrigerator and immediately pour the white chocolate over it. Work quickly but carefully to spread it evenly across the entire dark chocolate surface.
- Add the Finishing Touch: Immediately sprinkle the crushed candy canes over the wet white chocolate, gently pressing the larger pieces down so they adhere properly.
- Set and Break Into Pieces: Return the pan to the refrigerator for 30-40 minutes until completely firm. Once set, lift the bark out using the parchment paper overhang and place it on a cutting board. Break it into irregular pieces by hand for a rustic appearance, or use a large knife to cut clean squares for a more refined presentation.
Notes
- Don’t rush the melting process; overheated chocolate can seize up and become grainy. If it feels too thick, add a tiny amount of coconut oil (about ½ teaspoon) to smooth it out.
- For an artisanal look, break the bark into irregular pieces instead of cutting it into squares.
- Prep Time: 20 minutes
- Cook Time: 10 minutes
- Category: Dessert
- Method: No-Bake
- Cuisine: American
Nutrition
- Serving Size: 2 pieces
- Calories: 200
- Sugar: 20g
- Sodium: 5mg
- Fat: 12g
- Saturated Fat: 7g
- Unsaturated Fat: 3g
- Trans Fat: 0g
- Carbohydrates: 25g
- Fiber: 2g
- Protein: 2g
- Cholesterol: 0mg