Follow Me On Social Media!

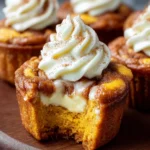
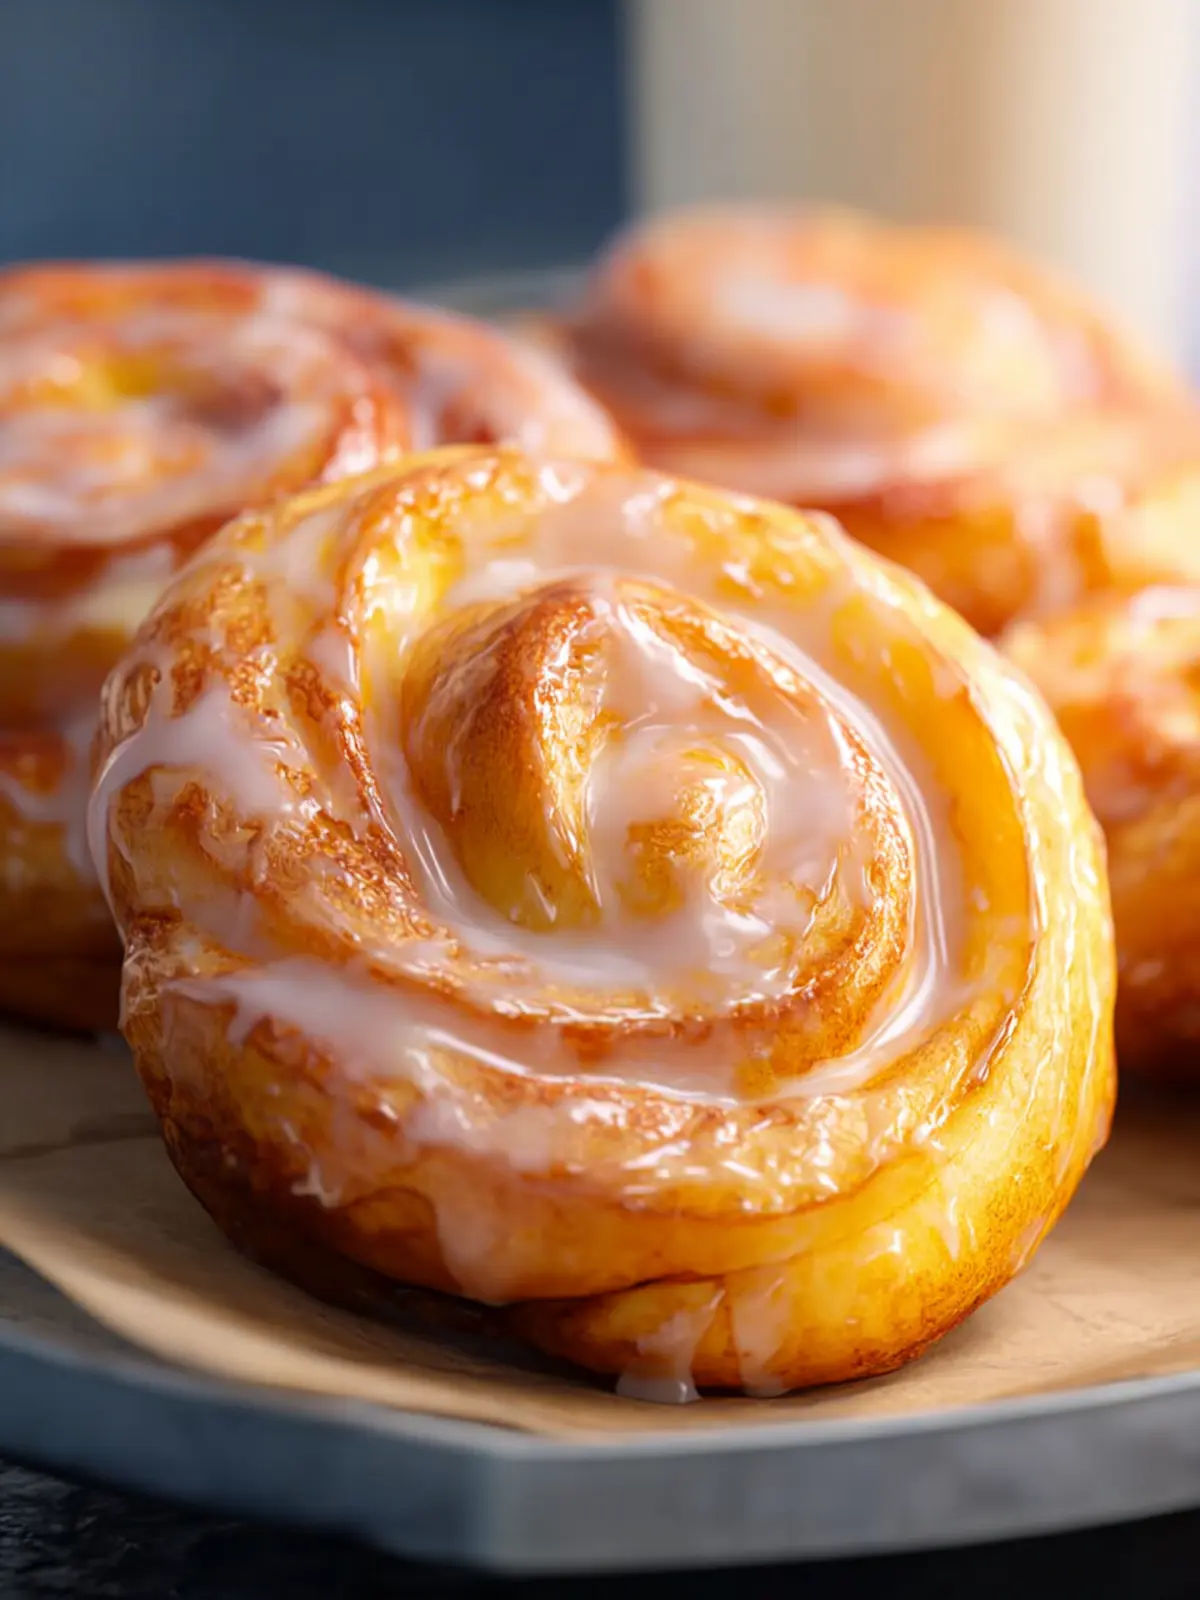
Honey Buns: Irresistibly Soft and Sweet for Your Home!
Introduction to Honey Buns
Honey buns are truly a delightful treat that brings a touch of warmth to any morning or afternoon coffee break. As a child, I remember eagerly waiting for my grandmother to bake her famous honey buns, their sweet aroma wafting through the house, beckoning us closer. They’re not just pastries; they’re a nostalgia-filled experience, evoking memories of family gatherings and cozy breakfasts.
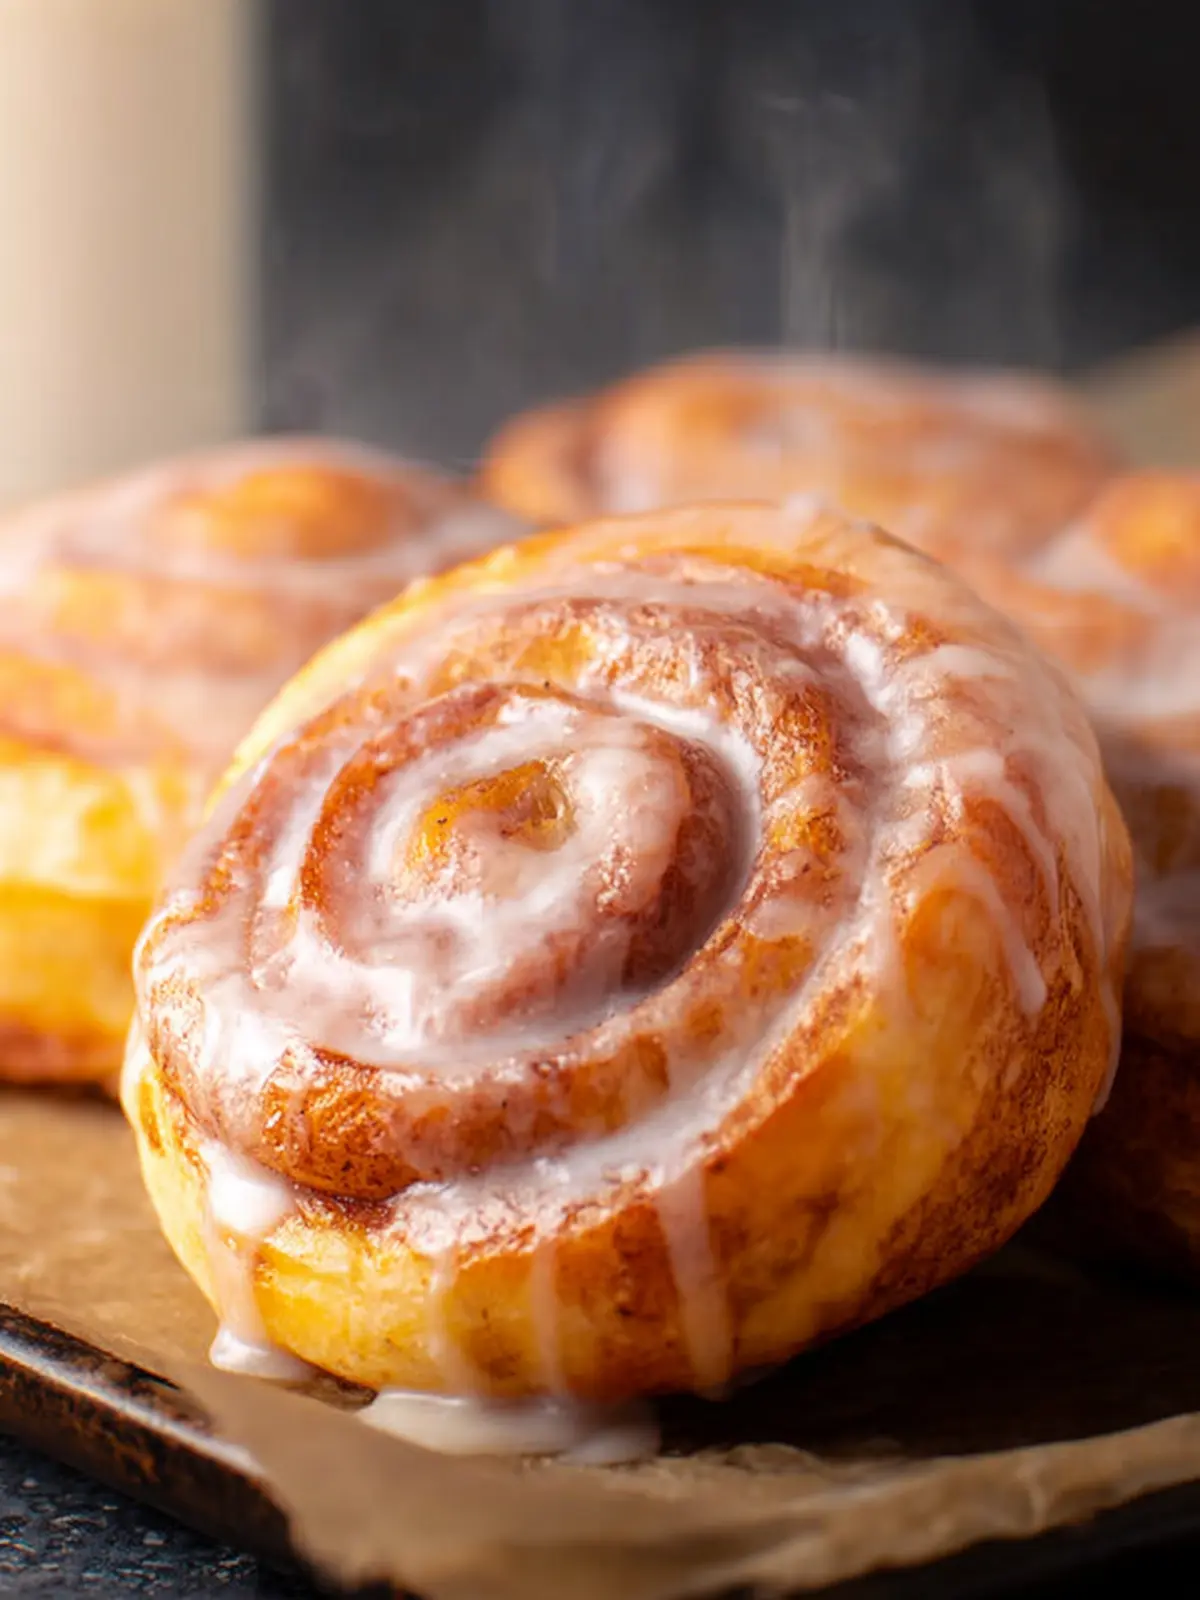
So, what is it about these soft, pillowy honey buns that makes them so irresistible? It’s a combination of their tender texture, a heavenly drizzle of honey glaze, and the subtle warmth of spices like cinnamon, which seems to dance on your taste buds. While they may appear simple at first glance, there’s something magical about pulling apart a fresh honey bun, revealing fluffy layers that are buttery and sweet, yet not overly decadent. They can easily become your favorite brunch item or a delightful afternoon snack.
When it comes to satisfying those sweet cravings, these honey buns simply hit the spot. There’s a comforting familiarity about them, and each bite transports you back to simpler times—perhaps an idyllic afternoon spent with friends or a rainy day indulging in a little self-care.
Whether you enjoy them plain, filled with cinnamon and sugar, or glazed with a luscious honey icing, honey buns are customizable to suit your taste preferences. They also pair beautifully with coffee, tea, or a glass of milk, making them a versatile choice for any occasion.
In the upcoming recipe, I’ll guide you through creating these scrumptious honey buns from scratch, using quality ingredients to ensure that each bite is as delightful as the last. With a little time and love, you’ll discover just how easy it is to whip up your batch of these timeless treats. Let’s roll up our sleeves and dive into the world of honey buns!
What makes honey buns so irresistible?
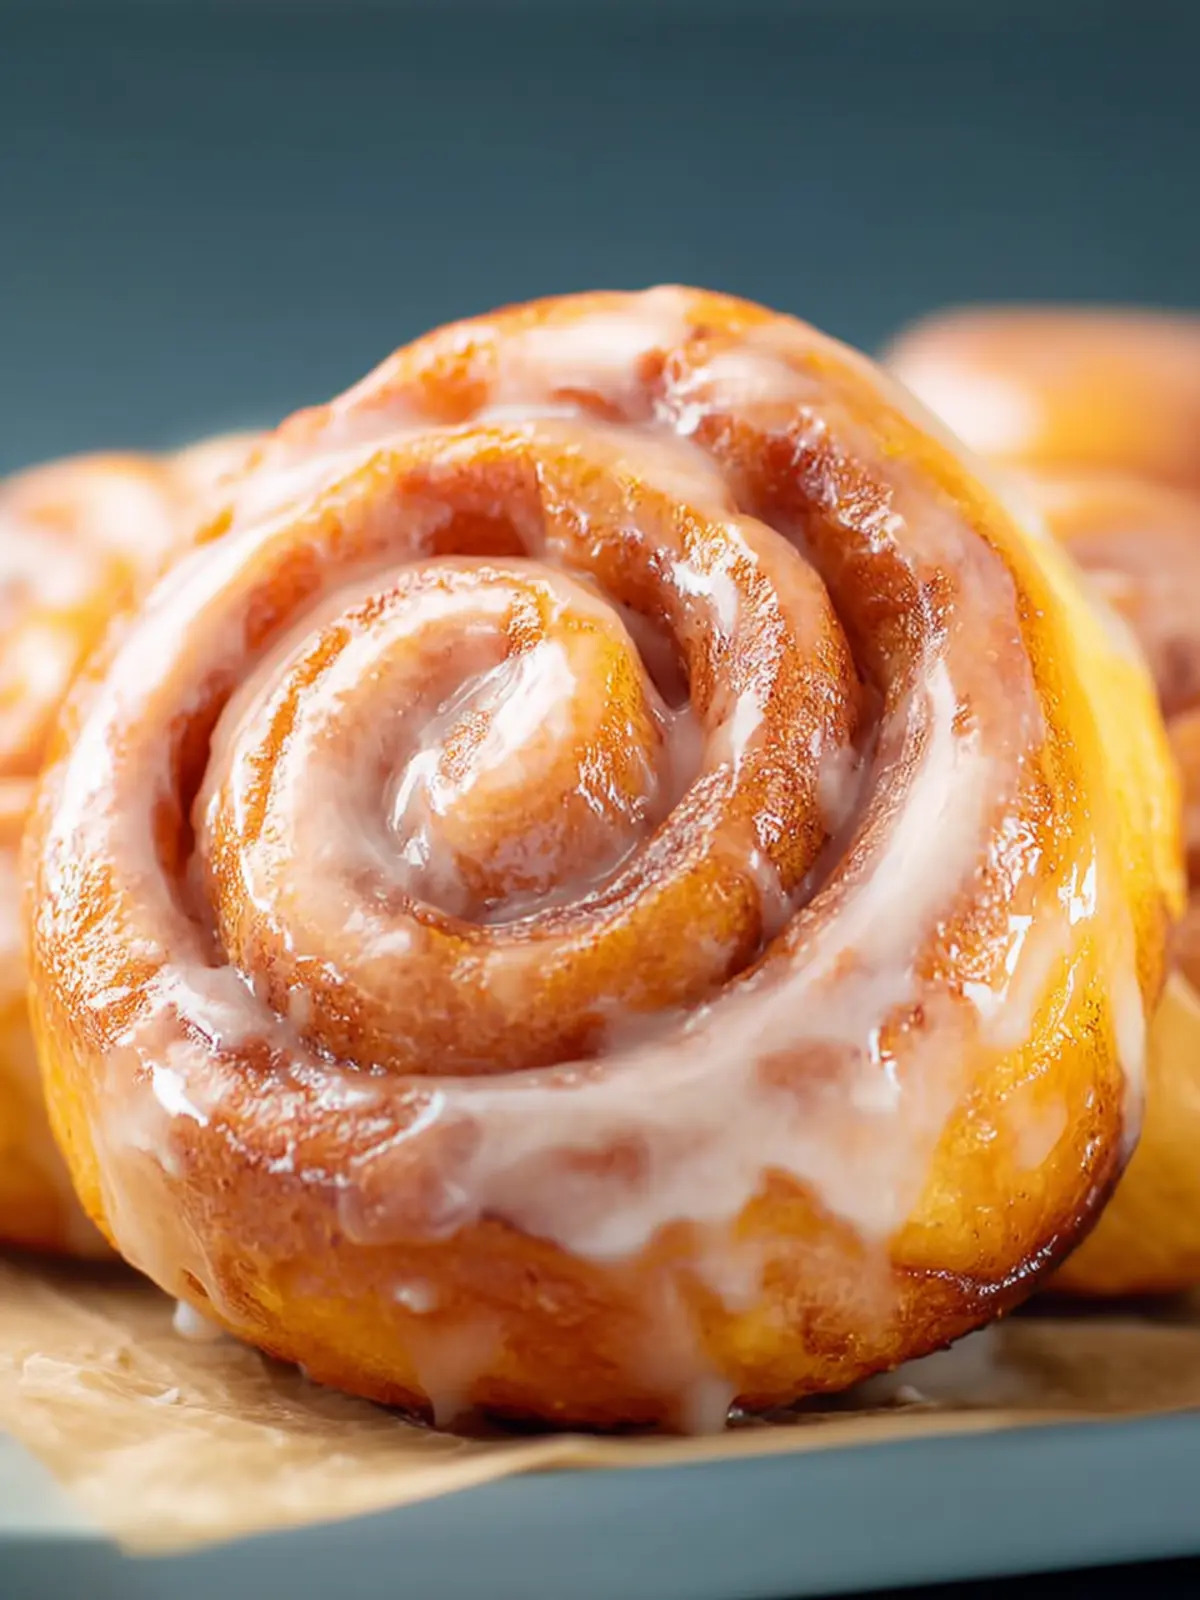
- The Softness: The dough is enriched with butter and eggs, yielding a light, airy crumb that’s hard to resist.
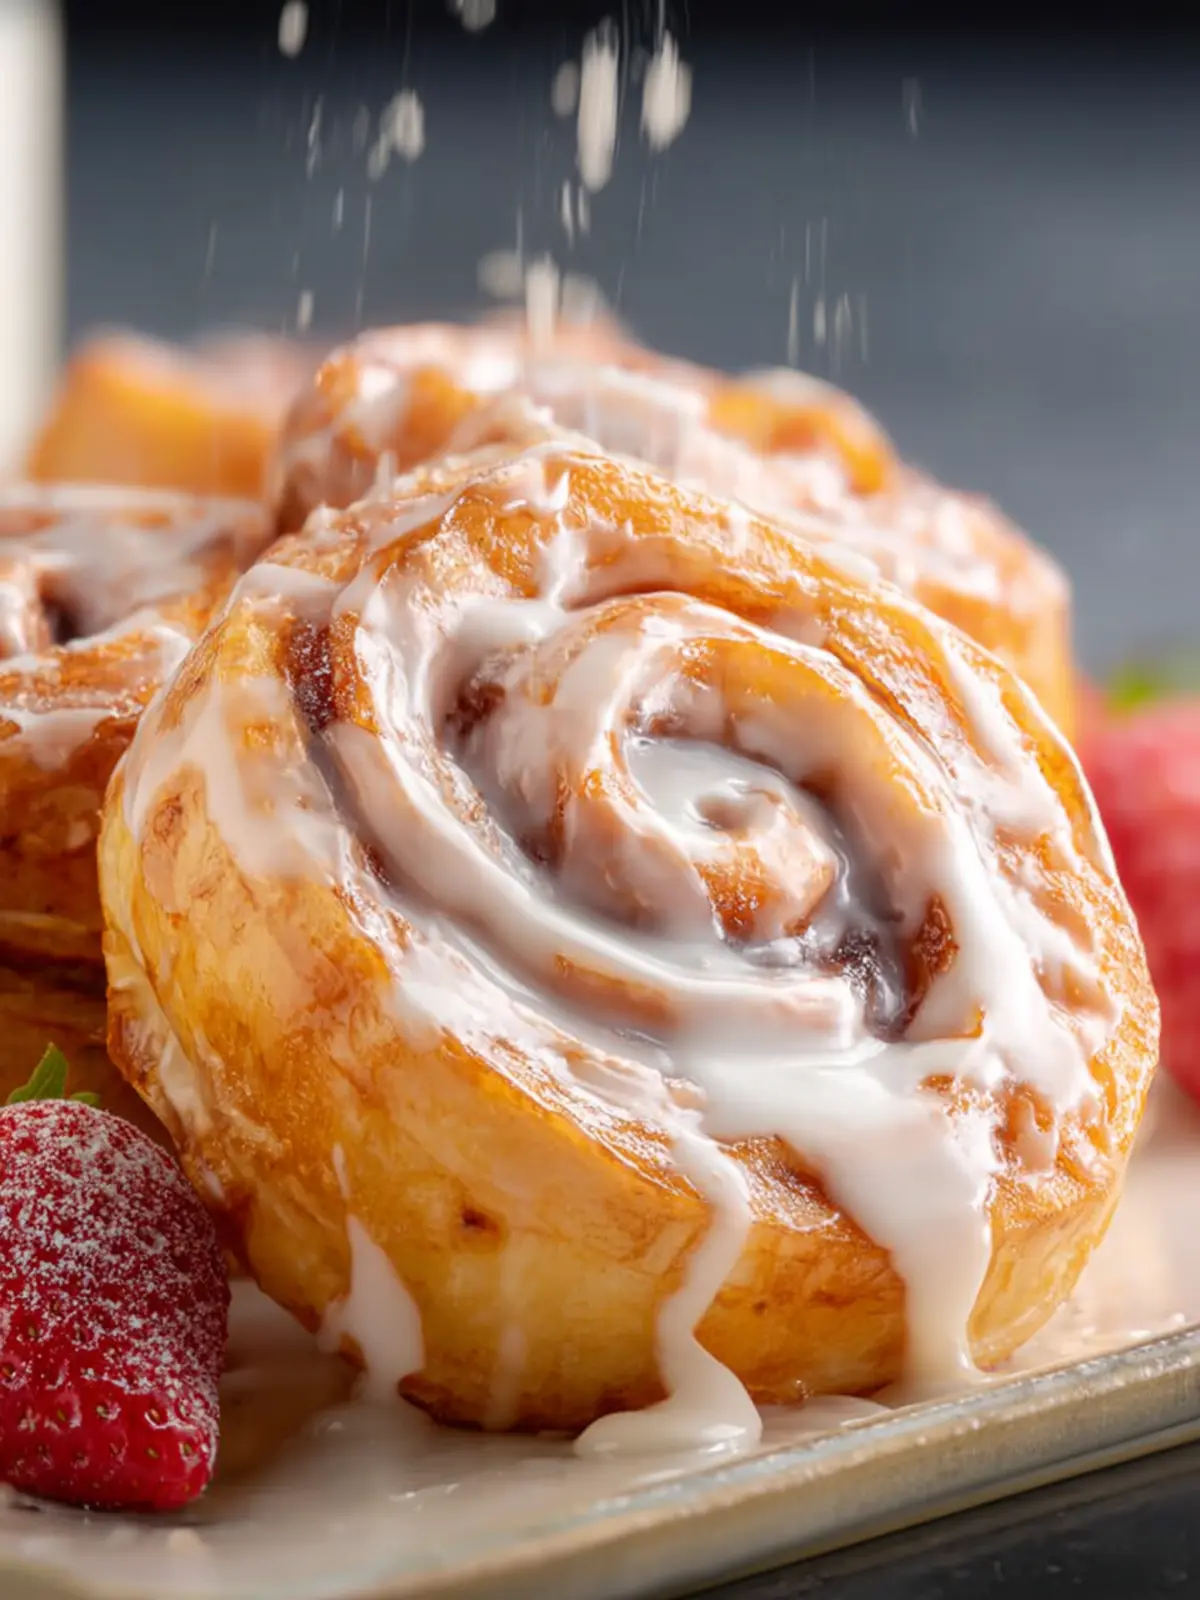
- The Glaze: A sweet honey syrup adds a beautiful shiny finish while enhancing the overall flavor.
- The Versatility: Traditional flavors can be varied through adding chocolate, nuts, or different spices to suit your cravings.
Each element contributes to that classic comfort food feeling that honey buns deliver so well!
Key Ingredients for Honey Buns
Honey Buns evoke a sense of nostalgia, reminding us of cozy mornings and delightful treats. Creating these tender, sweet rolls relies on a few essential ingredients that bring out the best flavors.
-
Flour: All-purpose flour is the foundation for our honey buns. It provides the perfect texture and structure. If you’re looking for a gluten-free alternative, a 1:1 gluten-free flour blend will work beautifully.
-
Yeast: Active dry yeast is crucial for that airy rise. It transforms the dough into soft, fluffy rolls, making each bite melt in your mouth. Make sure it’s fresh for the best results!
-
Honey: This is not just a sweetener; it’s the heart of our honey buns. Using high-quality honey adds a distinct flavor and moistness to your baked goods.
-
Milk: A splash of milk enriches the dough, enhancing its softness. Whole milk is my preferred choice, but you can use any variety you have on hand.
-
Butter: Used both in the dough and for brushing on top, butter lends richness and a golden hue. It adds a decadent touch that elevates these buns to a whole new level.
-
Eggs: Eggs enrich the dough and provide a lovely richness. They help bind the ingredients together, creating a cohesive texture.
With these key ingredients, your honey buns will be soft, sweet, and irresistible!
Why You’ll Love This Honey Buns Recipe
When honey buns are freshly baked, pulling them out of the oven fills your kitchen with the warmth of sweet nostalgia. This recipe brings back memories of special mornings filled with family and laughter, where a simple treat could spark immense joy. You’ll love how easy this recipe is to whip up, making it a delightful addition to your weekend baking routine.
Comforting Flavor and Texture
These honey buns boast a perfectly soft texture that melts in your mouth, combined with a sweet honey-gold glaze. Imagine popping one into your mouth, where the warm, delicate dough meets the luscious sweetness of honey—pure bliss!
Versatile Treats
Not only are they delightful warm from the oven, but these honey buns can also be enjoyed at any time of the day. Whether you’re savoring them with your morning coffee or treating friends to an afternoon dessert, they fit perfectly into your busy lifestyle. They even freeze well, so you can save some for a rainy day!
A Recipe for Connection
This recipe isn’t just about flavor; it’s about bringing people together. Baking is a beautiful way to bond with friends and family. So why not invite someone to join you in the kitchen? Your home will be filled with laughter, delicious smells, and the joy that comes with creating something special. Everyone deserves a taste of this happiness!
Tips for Making Perfect Honey Buns
Making honey buns is like creating a warm hug in pastry form. With the right techniques up your sleeve, these delightful treats can become a shining star in your baking repertoire. Here are some tips to help you craft the perfect honey buns every time:
Choose the Right Dough
The foundation of your honey buns is the dough. A rich, soft dough ensures a light, fluffy result. Use high-quality bread flour for better structure, and don’t skip the kneading! This process develops gluten, giving your buns the perfect rise and chew.
Perfect the Rolling Technique
When rolling your dough, aim for an even thickness. Uneven thickness can cause some buns to bake faster than others, leading to inconsistent texture. Roll the dough to about 1/4 inch for uniformity.
Let Them Rise
Patience is crucial. Allow your honey buns to rise properly before baking. This second rise, or proofing, enables the dough to become airy and soft. A warm, draft-free environment is ideal—your oven with the light on works wonders!
Glaze with Care
For that irresistible shine and flavor, don’t forget to generously brush your warm honey buns with glaze as soon as they come out of the oven. This will enhance their sweetness and keep them moist longer.
By following these tips, you’ll be able to create honey buns that are not only delicious but also a joy to make!
Time Details for Honey Buns
When you’ve got a craving for honey buns, understanding the timeline can help you plan the perfect occasion to enjoy them freshly made. These delectable treats are a joy to whip up, and here’s how your time breaks down:
Preparation Time
Getting started with the dough takes about 20 minutes. You’ll be mixing your ingredients and kneading the dough to achieve that soft texture!
Rising Time
After kneading, let the dough rise for approximately 1 hour. This step is crucial for the honey buns to become fluffy and light.
Frying Time
Once the dough is ready, frying the honey buns will take about 5 minutes per batch. You’ll want them golden brown for that appetizing look and delicious flavor.
Total Time
In total, from prep to indulgence, you’re looking at around 1 hour and 25 minutes. It’s worth every minute when you taste these heavenly honey buns!
Nutritional Information for Honey Buns
Honey buns are not just a delightful treat but also pack a punch in their nutritional profile. Knowing the nutritional breakdown can help you enjoy them in moderation, making them a sweet addition to your diet.
Calories
A serving of honey buns typically contains around 300 calories. This makes them a satisfying option for a snack or dessert, especially if you’re looking for a quick energy boost during a busy day.
Protein
Though honey buns are primarily a carbohydrate-rich indulgence, they offer a modest amount of protein, usually around 3 grams per serving. This can be beneficial for those looking to balance sweet treats with some protein intake.
Sodium
Sodium content in honey buns can be around 290 mg per serving. While it’s not excessive, being mindful of sodium levels is key, especially if you’re watching your salt intake. Enjoy these tasty buns as an occasional treat rather than a daily staple!
FAQs about Honey Buns
When you find yourself craving the sweet, sticky goodness of honey buns, it’s only natural to have a few questions about them. Let’s dive into some common inquiries to ensure your baking experience is delightful!
Can I make honey buns without frying?
Absolutely! While traditional honey buns are often fried, you can create a baked version to keep things lighter. Simply prepare your dough as directed in the recipe, shape the buns, and then place them on a baking sheet lined with parchment paper. Bake at 350°F (175°C) until golden brown—about 20-25 minutes. Warm out of the oven, these baked honey buns will be just as delicious!
How do I store leftover honey buns?
Storing your honey buns properly can help maintain their soft texture and sweet flavor. Let the buns cool completely before storing. Use an airtight container to keep them fresh at room temperature for up to three days. If you live in a particularly humid area, consider sticking them in the refrigerator to prolong their freshness.
Can I freeze honey buns?
Yes, you can! Freezing is a great way to keep those delectable honey buns for future enjoyment. Once completely cooled, wrap each bun tightly in plastic wrap and then place them in a freezer-safe bag. They can be stored in the freezer for up to three months. When you’re ready to enjoy one, simply thaw in the refrigerator overnight or warm it up in the microwave for a few seconds!
Conclusion on Honey Buns
Crafting homemade honey buns can be a delightful adventure that fills your kitchen with warmth and mouthwatering aromas. These tender, sweet treats are not just desserts; they hold the power to evoke memories of cozy family gatherings or cheerful brunches with friends. After indulging in a batch, you may find yourself dreaming of future variations, adding fresh fruits or drizzling a bit more honey on top. Whether enjoyed fresh out of the oven or saved for later, honey buns offer that perfect combination of comfort and satisfaction. So why wait? Your next baking session can start today, filling hearts (and stomachs) with sweet joy!
Print
Honey Buns
- Total Time: 1 hour 15 minutes
- Yield: 8 servings 1x
- Diet: Vegetarian
Description
Delicious homemade honey buns that are fried to perfection and glazed for a sweet finish.
Ingredients
Scale
- 1 Tbsp active yeast
- 3 Tbsp sugar
- ½ cup warm water
- ⅓ cup honey
- 2 ⅔ cups all purpose flour
- ½ tsp salt
- ¼ cup shortening (melted)
- 1 tsp vanilla extract
- 3 egg yolks
- 1 ½ inches vegetable oil for frying
- 1 tsp cinnamon
- ¼ cup sugar
- 2 Tbsp honey
- 1 Tbsp unsalted butter (melted)
- 4 ⅔ cups powdered sugar
- ⅓ cup warm water
Instructions
- Using a stand mixer add the yeast, 3 tbsp of sugar and ½ cup of warm water to the bowl, stir with a whisk until combined and then let it sit for around 4-5 minutes.
- Add the honey, flour, salt, shortening, vanilla and the egg yolks. Knead on medium speed using the dough attachment, for about 8 minutes. Spray a large mixing bowl with non stick cooking spray and place the dough into the bowl once it’s done. Cover with plastic wrap and let it sit and rise for 1 hour.
- In a small bowl add the 1 tsp of cinnamon and ¼ cup of sugar and mix to combine and set aside. Lightly flour a large clean area and place the dough on the area, lightly sprinkle a tiny bit of flour on top of the dough. And lightly flour a rolling pin.
- Roll the dough out to about 8 inches wide and 12 inches long. Sprinkle the cinnamon sugar all over top of it. From the longer side begin carefully rolling the flatten dough until it becomes one long roll. Line a large baking sheet with parchment paper and set aside.
- Cut about 1 to 1 ½ inch off both ends of the roll diagonally. Make 1 inch diagonal slices, about 8 slices. Place each of the slices down on the baking sheet and lightly press down with a clean hand and shape slightly. Let them rise for about 40-45 minutes.
- Once the timer has gone off get a large frying pan and add the vegetable oil to it and heat it up. Don’t let the temp get too high, a good temp is around 360°F. While you are waiting for the oil to heat up make the glaze.
- In a large bowl add the 2 Tbsp honey, 1 Tbsp butter (melted), powdered sugar and warm water stir until everything is completely smooth and a glaze forms. Set aside.
- Place one honey bun into the oil at first, frying for 50-70 seconds on each side, pay attention and don’t let it burn, you want it to be a golden brown on each side. Once done add it to the glaze and dip on both sides and then place it on a wire cooling rack with parchment paper under it, make sure to let some of the glaze drip off before setting down. Repeat with the others.
- Once they cool completely, serve and enjoy!
Notes
- Make sure to monitor the frying temperature to avoid burning the honey buns.
- Let the glaze drip off before placing on the cooling rack for the best texture.
- Prep Time: 1 hour
- Cook Time: 15 minutes
- Category: Dessert
- Method: Frying
- Cuisine: American
Nutrition
- Serving Size: 1 honey bun
- Calories: 300
- Sugar: 20g
- Sodium: 150mg
- Fat: 10g
- Saturated Fat: 2g
- Unsaturated Fat: 7g
- Trans Fat: 0g
- Carbohydrates: 45g
- Fiber: 1g
- Protein: 3g
- Cholesterol: 50mg