Follow Me On Social Media!

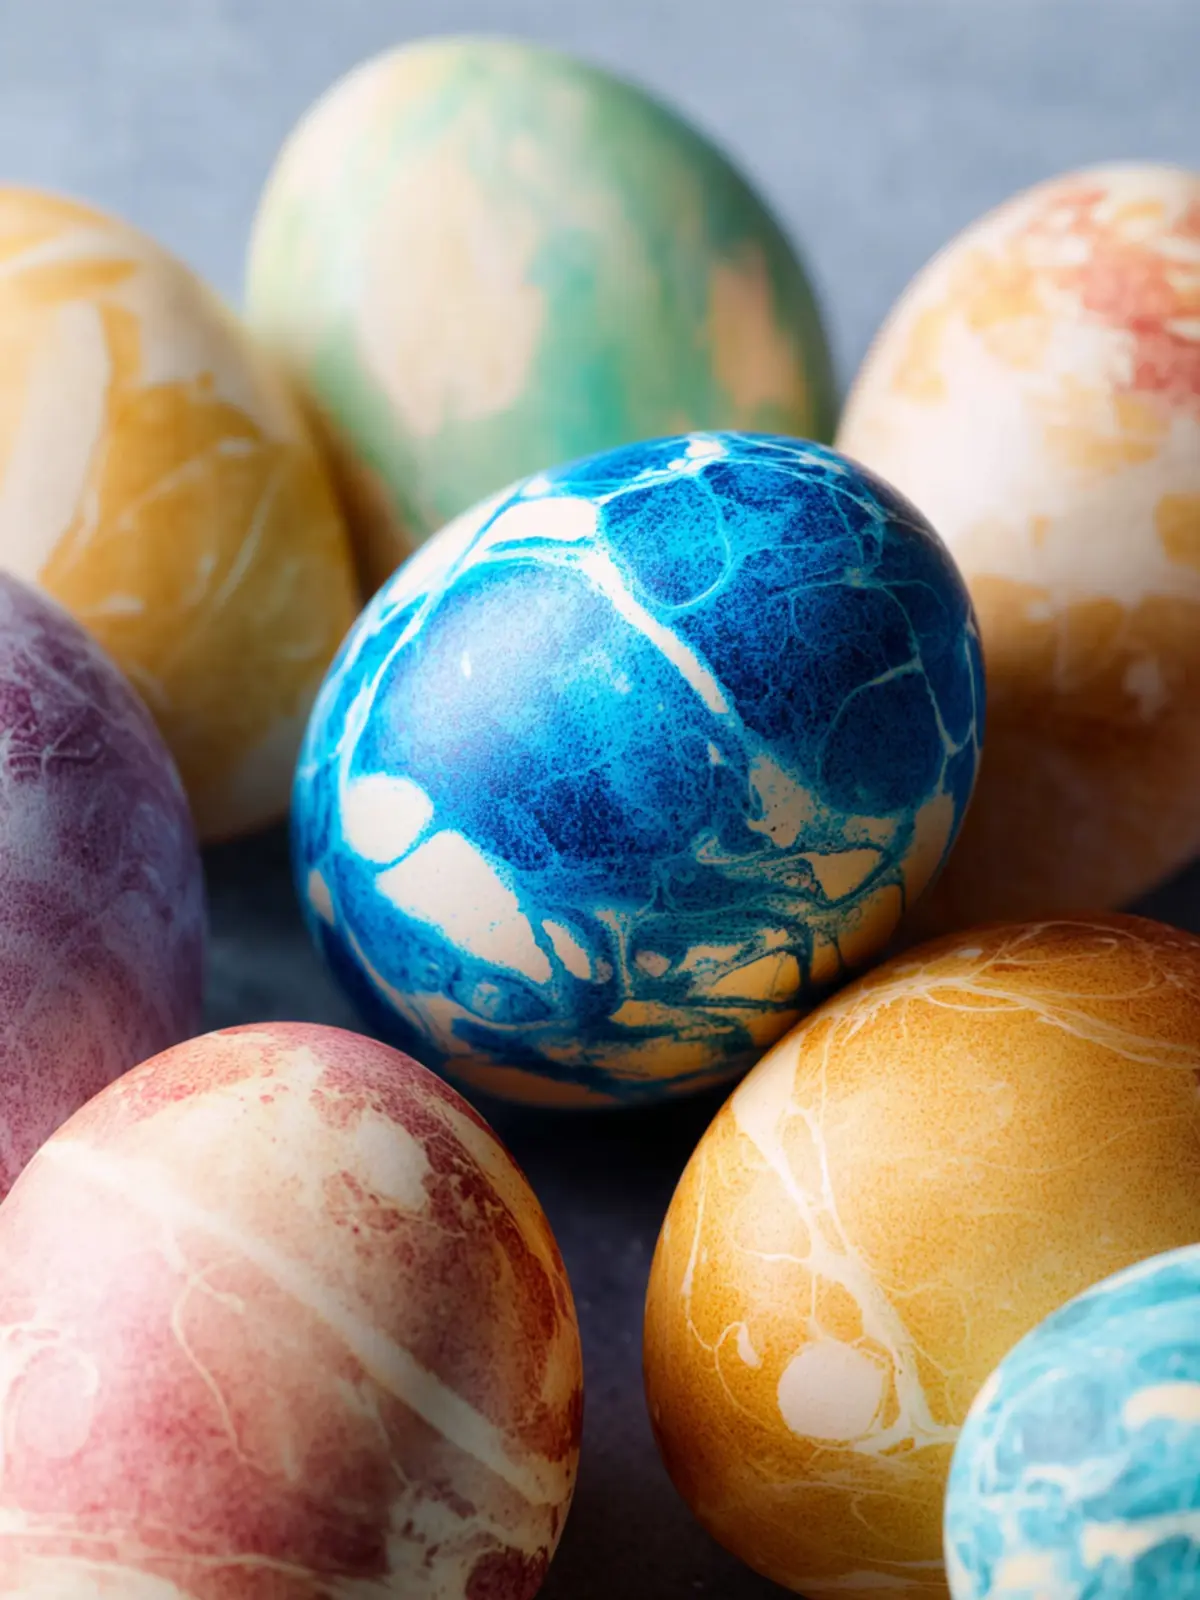
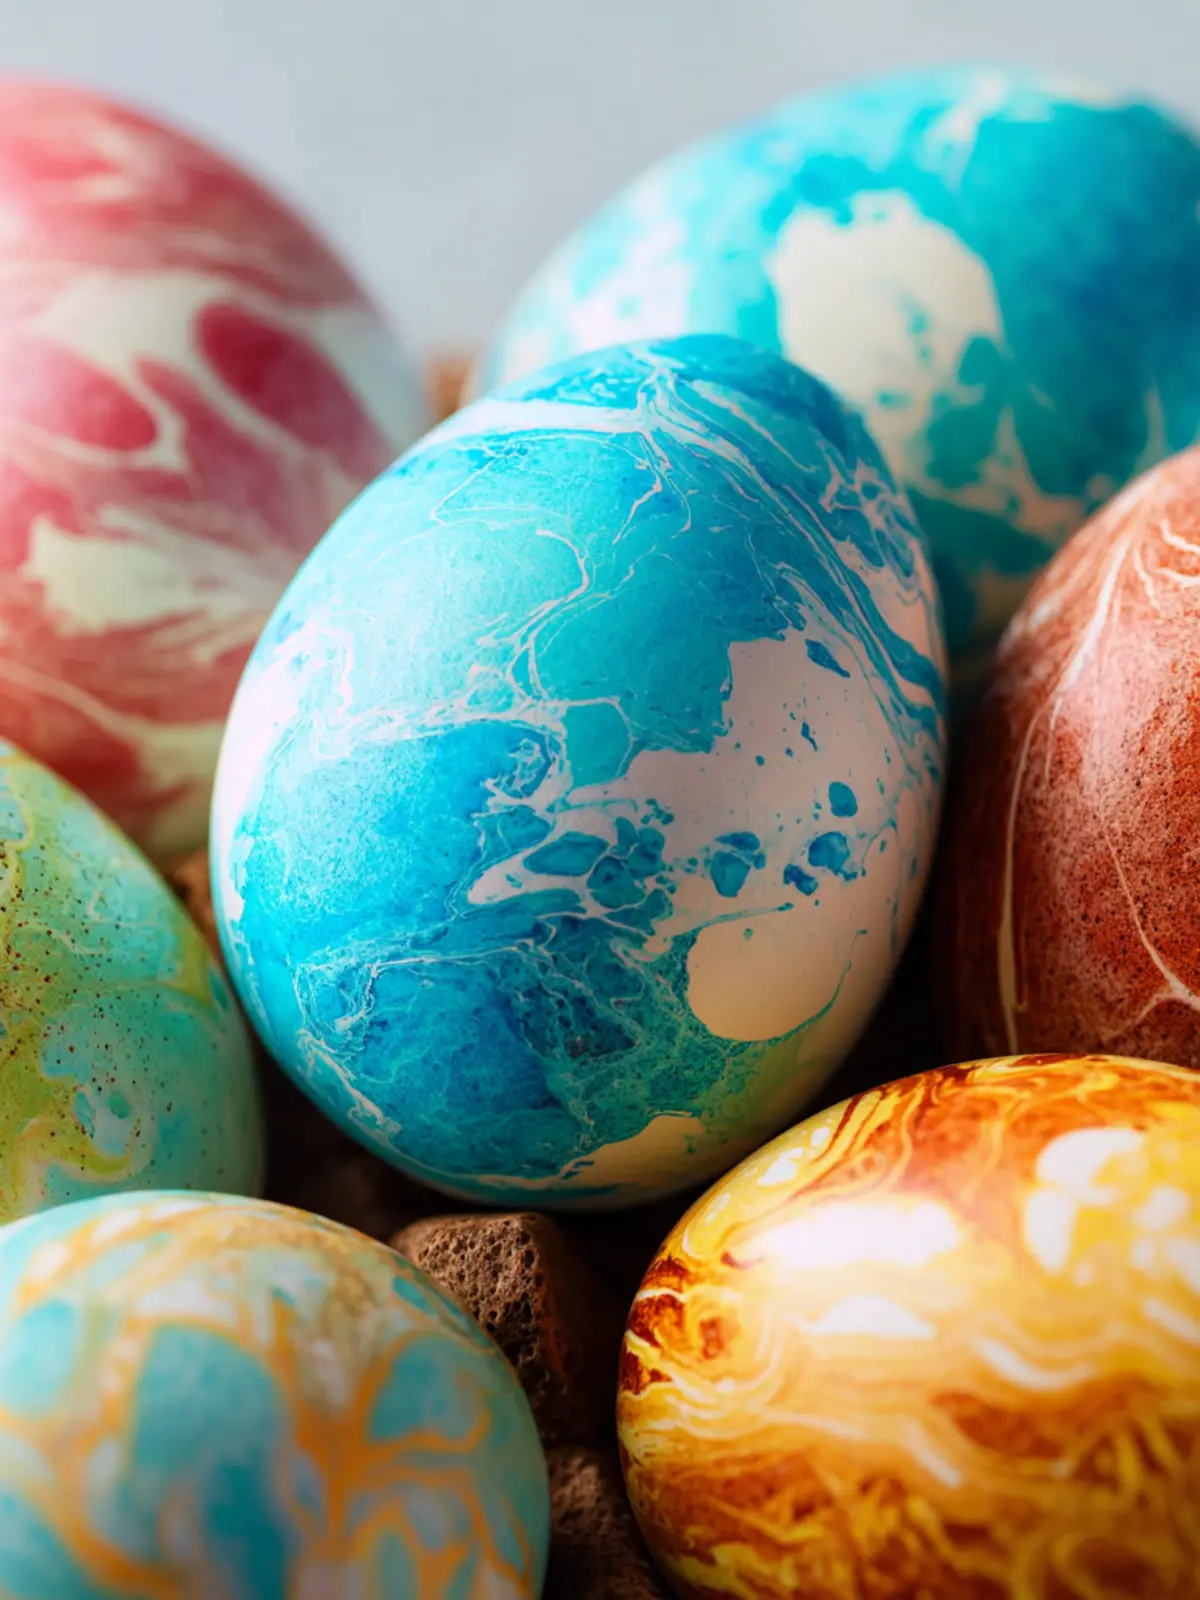
Marbled Easter Eggs: Easy Techniques for Stunning Results
Introduction to Marbled Easter Eggs
Creating Marbled Easter Eggs is more than just a seasonal craft—it’s a beautiful way to connect with tradition, family, and the joys of spring. Picture a sunny afternoon spent with loved ones, laughter filling the air as you explore the delicate art of egg decoration. As you swirl colors together, each egg becomes not only a canvas of creativity but also a keepsake infused with memories and stories.
There’s something uniquely satisfying about the process. The vibrant colors mix and mingle, resulting in stunning patterns that can evoke smiles from both children and adults alike. Imagine the excitement of hiding these exquisite eggs around your home or yard and watching as family and friends embark on an egg-hunting adventure. The whimsical colors and beautiful marbling bring a delightful freshness to your Easter festivities, making every moment feel special.
Beyond just aesthetics, Marbled Easter Eggs also represent renewal and growth. Spring, with its blooming flowers and warming sunshine, mirrors the creative potential we all possess. Each stroke of color is a reminder that transformation is at the heart of this season—just as these ordinary eggs can take on extraordinary beauty, so can our lives and relationships flourish with a bit of effort and love.
Why Marbled Easter Eggs Bring Joy
The joy of Marbled Easter Eggs stems from their ability to merge artistry with nostalgia. Many of us carry fond memories from our childhood of dyeing eggs with family, and now you can pass down those traditions. The mesmerizing swirl of colors encourages creativity and provides an opportunity to bond over a shared activity.
Here are a few reasons why these marbled eggs might just become your new favorite Easter project:
- Creativity Unleashed: The marbling technique invites everyone to express themselves artistically, resulting in unique and personal creations.
- Family Engagement: It’s an activity perfect for gathering family members of all ages, encouraging laughter and collaboration.
- Beautiful Decorations: Beyond Easter, these eggs can enhance your home decor, with their vibrant hues bringing cheer to your space.
So, roll up your sleeves and prepare to dive into this delightful tradition. Let’s create some unforgettable memories with Marbled Easter Eggs this Easter!
Key Ingredients for Marbled Easter Eggs
Creating Marbled Easter Eggs is as much an art as it is a culinary endeavor, and getting the ingredients just right is essential for achieving those stunning swirls.
- Eggs: Start with large, organic eggs. Fresh eggs not only taste better but also shell more easily, which is crucial during the decorating process.
- Vinegar: This is key to achieving vibrant colors. Adding a splash of white vinegar to your dye mixture helps the colors adhere better to the egg shell, resulting in rich, marbled effects.
- Food Coloring: You can use gel colors for deeper hues or traditional liquid colors for a softer palette. Mixing different colors will give you those beautiful marbling effects you’re aiming for.
- Oil: A little vegetable oil is essential when mixing your dyes. This creates the swirling effect, leaving behind beautiful patterns on your eggs.
- Water: This is the base for your dye mixtures. Distilled water is ideal, but tap water works just as well if that’s all you have on hand.
With these ingredients, your Marbled Easter Eggs will surely be the highlight of any Easter celebration!
Why You’ll Love These Marbled Easter Eggs
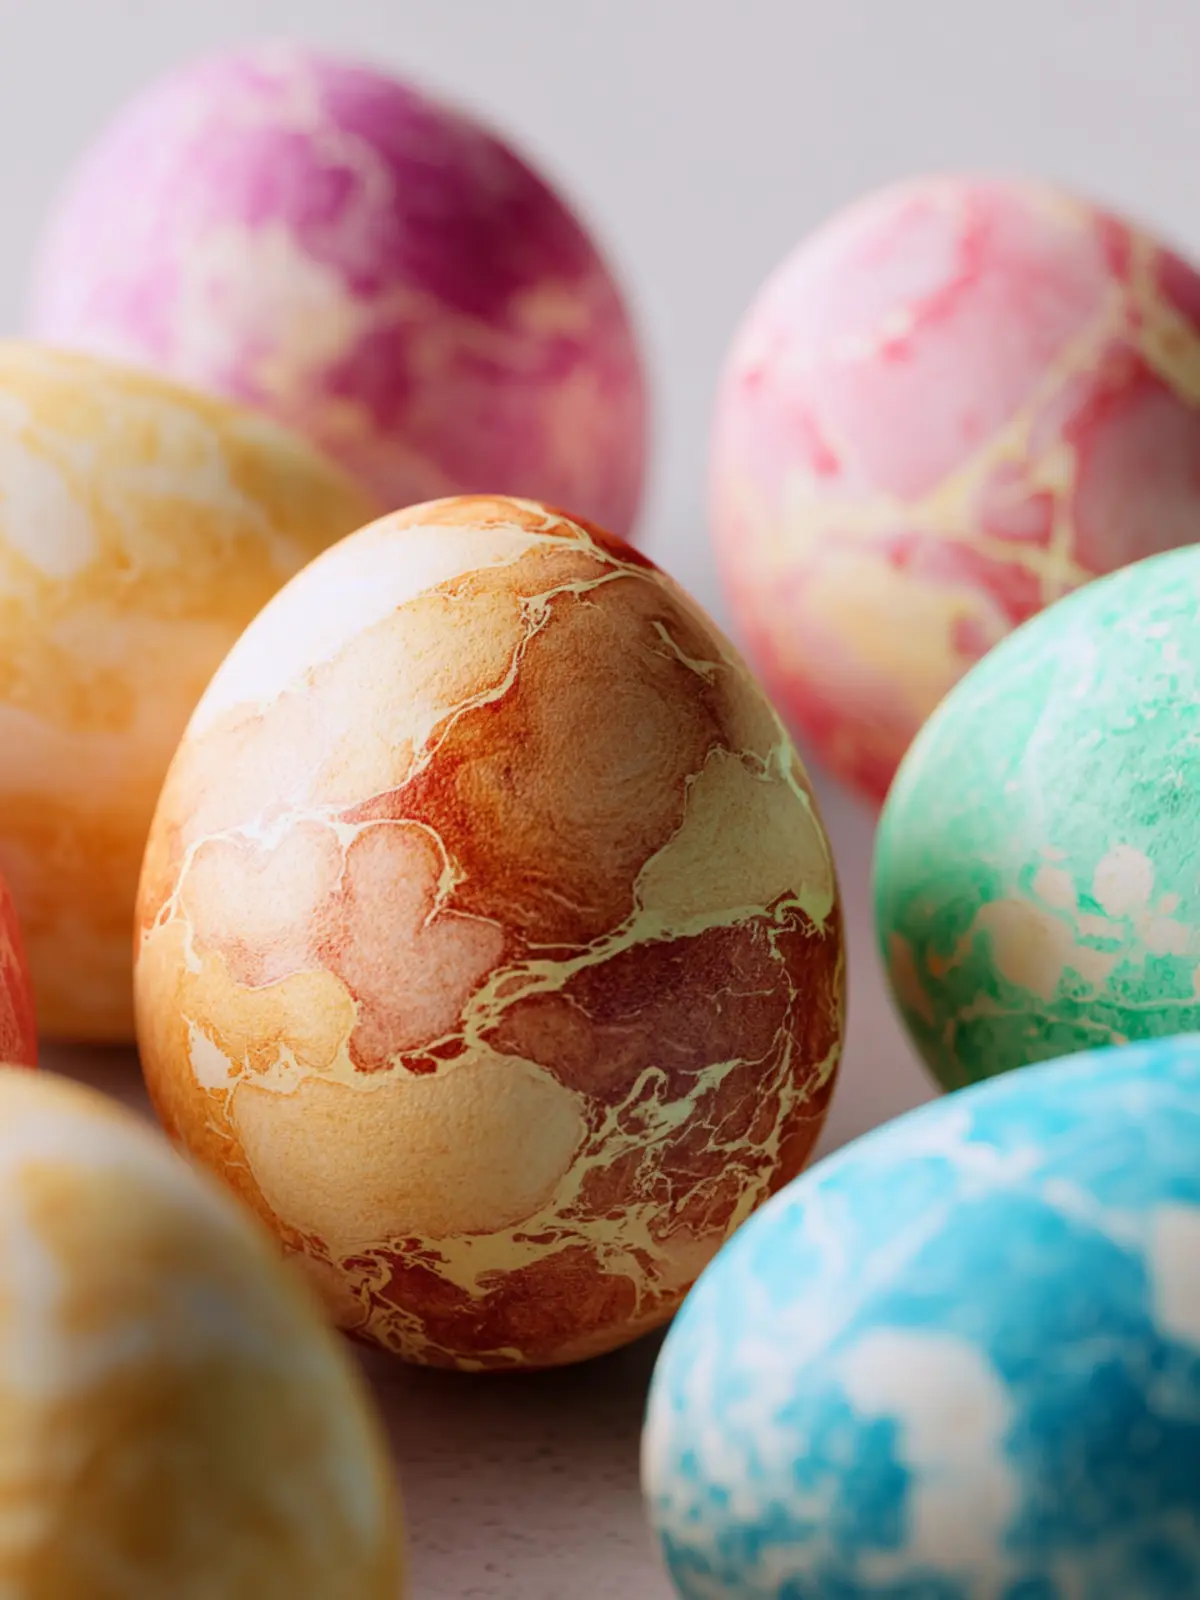
Creating Marbled Easter Eggs takes the humble art of decorating eggs to new heights, resulting in beautiful, artistic pieces that are as fun to make as they are to display. Picture this: a cozy Sunday afternoon spent with friends or family, experimenting with colors and patterns, transforming plain white eggs into vibrant works of art. Each egg tells its own story through swirling hues, sparking joy and creativity in everyone involved.
Here are a few reasons why you’ll absolutely adore these Marbled Easter Eggs:
-
Creative Expression: Whether you’re an experienced crafter or a beginner, the marbling technique invites you to play with colors, textures, and patterns. You’ll find it surprisingly therapeutic to immerse your hands in dye and see your vision come to life.
-
Unique Designs: No two eggs will ever be the same! The randomness of the marbling process ensures a stunning variety, so you won’t just have decorated eggs — you’ll have unique pieces of art.
-
Family Fun: This activity is perfect for kids and adults alike. What better way to bond during the Easter season than making something beautiful together?
-
Stunning Decor: Once finished, these marbled eggs make for eye-catching additions to your Easter table or seasonal décor, sure to impress your guests.
So grab your supplies and get ready to unleash your creativity with these delightful Marbled Easter Eggs!
Variations on Marbled Easter Eggs
The creativity behind Marbled Easter Eggs extends far beyond the simple swirling of dye. This festive project can capture the seasonal spirit and provide a unique spin for every household, making it even more special.
Seasonal Inspirations
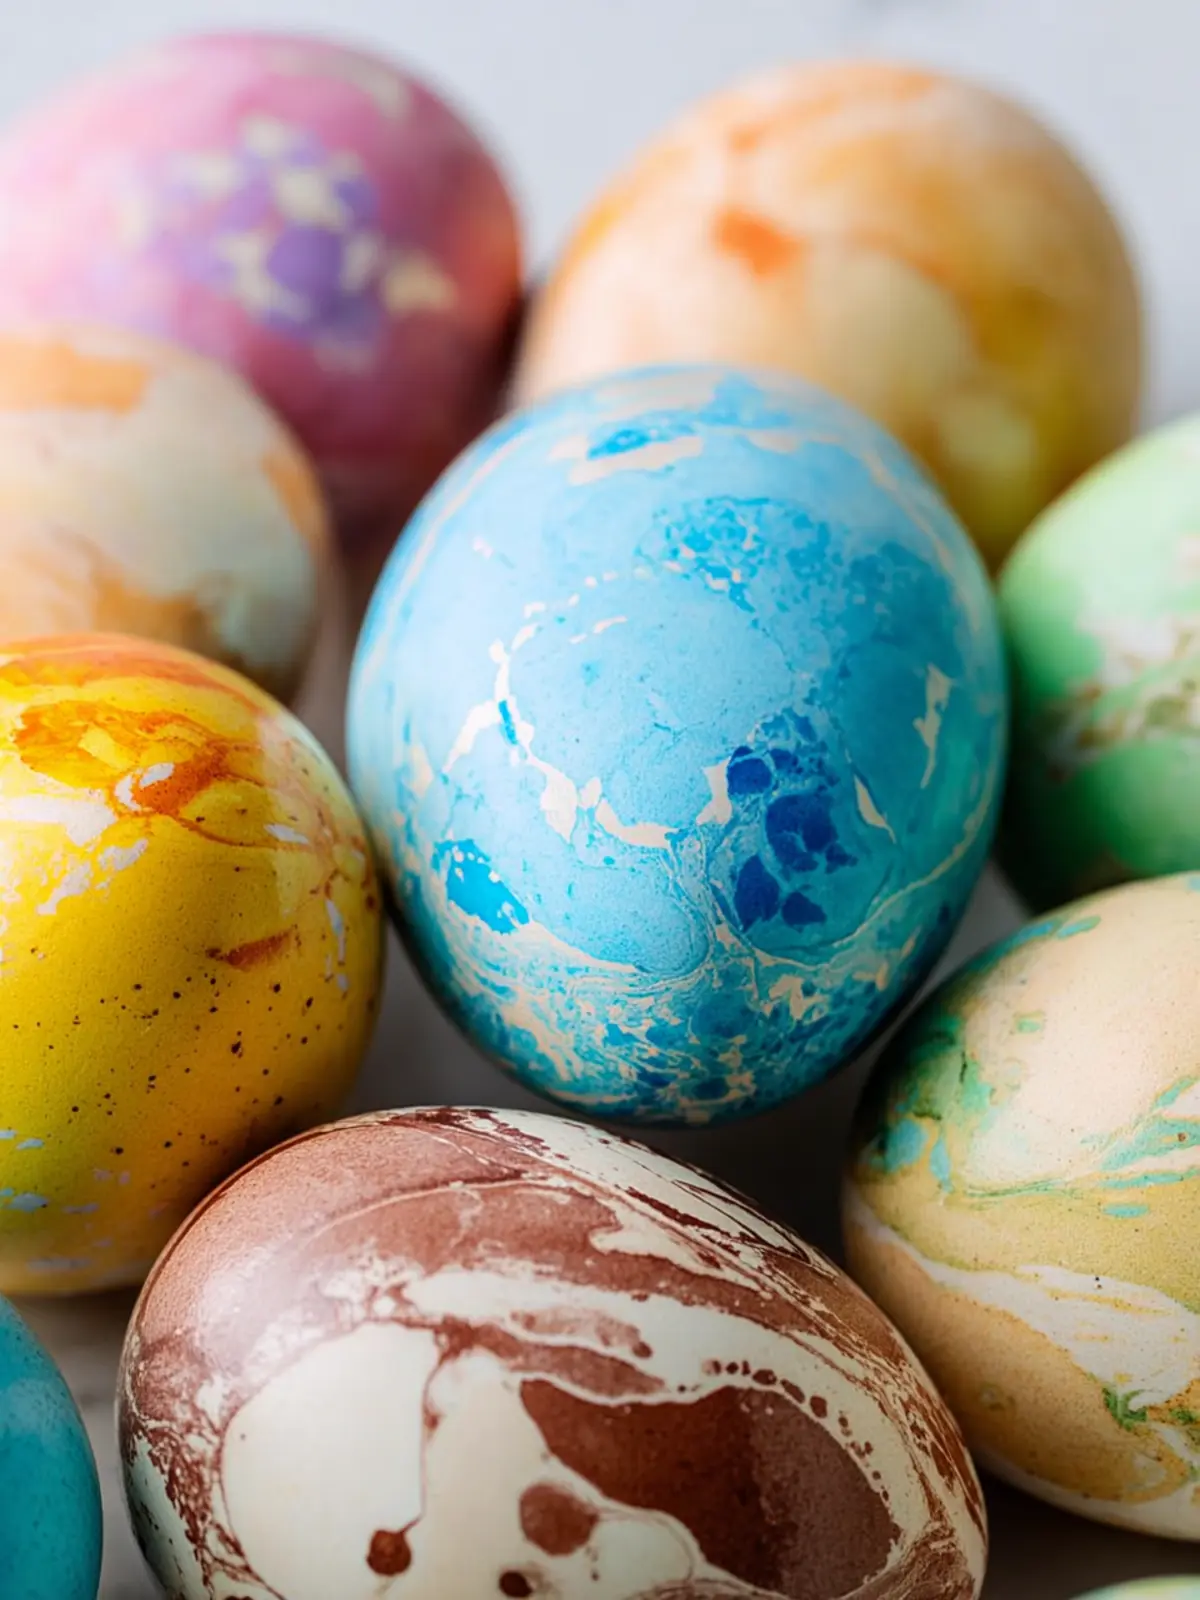
Depending on your celebration, you can tailor your Marbled Easter Eggs to reflect various seasonal themes. For spring, think pastel shades—soft pinks, greens, and yellows that capture the budding flowers and fresh grass. In late summer, you might want to experiment with more vibrant colors like deep purples and bright oranges, emulating the warm sunsets of the season. Each egg can tell a story, perhaps resembling blooms, fruits, or even seasonal holidays.
Creative Dye Techniques
If you’re looking to shake things up, consider a few alternative dye methods for your Marbled Easter Eggs. Using a shaving cream technique can yield unexpected, beautiful results. Coat the egg in a thin layer of shaving cream, drop the food coloring randomly on top, and then gently swirl it with a toothpick. After rinsing, you’ll discover beautifully unique patterns. Likewise, the use of silk ties—you wrap eggs in fabric before boiling—allows for charming designs that are downright stunning.
Embrace Natural Colors
Experimenting with natural dyes enhances the experience, making your Marbled Easter Eggs not only beautiful but also eco-friendly. Using items such as turmeric for yellow, red cabbage for blue, and beet juice for a striking pink can elevate the creative process. The natural approach offers a relaxed, exploratory feel, reconnecting us to the ingredients and traditions of dyeing eggs. Plus, these colors are entirely safe for the family—perfect for getting the little ones involved!
Your Marbled Easter Eggs can become diverse canvases, bursting with color and creativity that shine alongside the joys of the season.
Cooking Tips and Notes for Marbled Easter Eggs
Creating marbled Easter eggs is not just a simple craft; it’s a delightful tradition that brings colorful joy to your festivities. Here are some handy tips to help you master the art of marbling.
Ensuring Perfectly Hard-Boiled Eggs
To achieve the best marbled Easter eggs, start with perfectly hard-boiled eggs. Gently place your eggs in a single layer in a saucepan, covering them with cold water. Bring the water to a rolling boil, then cover the pot and turn off the heat. Let them sit for 9-12 minutes, depending on your desired firmness. Afterward, transfer the eggs to an ice bath to stop the cooking process and prevent a green ring from forming around the yolk.
Dyeing Techniques for Best Results
When it comes to dyeing your eggs, using vinegar in your dye mixtures can enhance color intensity. For a marbled effect, swirl different colors in the dye bath. A simple method is to dip a spoon into your dye and allow it to drizzle over the egg as you rotate it. This way, the colors blend and create that stunning marbled finish.
Common Mistakes to Avoid
One common pitfall is failing to prepare your eggs properly. Cracked eggs will not only make a mess but can also affect how well the dye adheres. Make sure to use room-temperature eggs and handle them gently, especially when they’re in the dye. Also, avoid rushing the process—allow the eggs to soak long enough to absorb the dye for vibrant results.
With these tips, you’ll be well on your way to creating beautiful, marbled Easter eggs that will impress your family and friends!
Serving Suggestions for Marbled Easter Eggs
Marbled Easter Eggs are not just beautifully crafted delights; they can serve as the centerpiece for your festive gatherings or the inspiration for your culinary creativity. After crafting these stunning eggs, consider their presentation and how to use them beyond the holiday season.
Festive Presentation Ideas
Elevate the allure of your Marbled Easter Eggs with charming displays. Consider using a wooden or ceramic egg stand for a natural touch. Surround the eggs with fresh flowers or greenery to create a stunning centerpiece for your table. A clear glass bowl filled with colorful straw or shredded paper can also highlight the vibrant colors of the marbled designs. If you’re feeling crafty, add some twinkling fairy lights to the display for a whimsical evening ambiance.
Creative Recipes Using Leftover Eggs
After the festivities, use any leftover Marbled Easter Eggs in delightful dishes. Slice the eggs to create a colorful egg salad, mixing them with mayonnaise, mustard, and chopped herbs for extra flavor. Alternatively, boil them to make deviled eggs – the marbling can add a unique color to the filling. For something different, chop the eggs into a stir-fry with seasonal vegetables for a protein-packed meal.
Fun Ways to Gift or Decorate
Gifting Marbled Easter Eggs is a heartfelt gesture. Wrap them in colorful tissue paper or place them in small cartons tied with twine. For a more playful touch, you can use them as unique place card holders at your Easter brunch. Simply write guests’ names on small cards and secure them to the eggs with decorative clips. This not only personalizes their experience but also adds a touch of charm to your decor.
Time Breakdown for Making Marbled Easter Eggs
Creating Marbled Easter Eggs is a delightful and hands-on experience that can fit seamlessly into your day. Let’s break down the time you’ll need to get the best results.
Preparation Time
You’ll want about 30 minutes to prepare your materials. This includes gathering your ingredients and prepping your workspace. Take your time to set everything up nicely!
Dyeing Time
The dyeing process takes about 60 minutes. This allows for the eggs to soak in the colors and achieve that beautiful marbled effect. Don’t rush—enjoy the artistry!
Total Time
In total, expect to spend around 90 minutes. This includes both preparation and dyeing, giving you a lovely window to create stunning Marbled Easter Eggs without feeling hurried. Enjoy the process; it’s all part of the fun!
Nutritional Facts for Marbled Easter Eggs
Marbled Easter Eggs are not just a delightful visual treat; they also hold a surprising nutrient profile that can enrich your festive celebrations. Each egg you decorate and devour carries nutritional benefits that make them a wholesome addition to your holiday table.
Calories
A single Marbled Easter Egg typically contains around 70 calories, making them a charming but guilt-free dessert option to enjoy this spring.
Protein
These festive eggs pack in about 6 grams of protein each, offering a delicious way to increase your protein intake while indulging in a seasonal favorite.
Dietary Fiber
With eggs being primarily protein sources, they don’t provide a lot of dietary fiber. However, pairing them with whole-grain toast can help balance your meal while still celebrating those pretty marbled colors.
Whether you’re decorating them for an egg hunt or adding them to your brunch spread, Marbled Easter Eggs bring both joy and nutrition to your holiday celebrations.
FAQ about Marbled Easter Eggs
Marbled Easter eggs can truly elevate your festive celebrations, adding an artistic flair to your holiday table. The joy of creating these vibrant, swirled masterpieces comes with a few questions, so let’s dive into some of the most common queries!
Tips for Achieving Stunning Marbling
To get the best marbling effect, start with room temperature eggs and ensure your dyes are vibrant. Add a few drops of dish soap to your dye for better spreadability. After dipping your egg in one color, gently swirl it in the dye before moving it to another color. This is where the magic happens! The key is to be quick but deliberate—don’t wait too long, or the colors won’t blend effectively.
Brighten Up Dull Colors
If you find your colors have turned out less vibrant than you hoped, don’t fret! You can achieve a brilliant effect by soaking the eggs for a longer duration in the dye. If they still appear dull, consider adding a few drops of vinegar to your dye bath; this can enhance the intensity of the colors. A creative approach is also to apply a glossy sealant after they dry for a brighter finish.
Reusing Dye for Future Creations
Absolutely! If you have leftover dye, you can store it for future projects. Just make sure to keep it in an airtight container and in a cool, dark place. Dye should generally last for a few weeks, but for the best results, try to use it within a week. Just remember to give it a good stir before using it again!
These tips should help you on your journey with your Marbled Easter Eggs. Happy decorating!
Conclusion on Marbled Easter Eggs
Creating Marbled Easter Eggs is not just about the vibrant colors and swirls; it’s about crafting a unique tradition that can be passed down through generations. This delightful activity encourages creativity while bringing family and friends together to celebrate spring’s arrival. Let the process be as enjoyable as the outcome! The satisfaction of seeing those beautifully marbled eggs can evoke a sense of accomplishment and joy. So gather your ingredients, embrace the artistic spirit, and dive into this enchanting world of color. With just a little time and effort, your Easter celebration will be brightened and made unforgettable.
Print
Dyeing Hard-Boiled Eggs
- Total Time: 15 minutes
- Yield: 12 eggs 1x
- Diet: Vegetarian
Description
This recipe provides a fun and creative way to dye hard-boiled eggs using common kitchen ingredients.
Ingredients
Scale
- 12 cups hard-boiled eggs
- ½ tablespoon boiling water
- 1 tablespoon cooking oil
- ½ cup white distilled vinegar
- 10–20 drops food dye
Instructions
- Prepare the Dye: Use one bowl per color, adding ½ cup boiling water, ½ tablespoon vinegar, and 10-20 drops of dye (fewer for dark colors, more for light). Stir well.
- Add Oil: Mix 1 tablespoon of cooking oil into each bowl, leaving a small amount aside.
- Oil the Eggs: Lightly streak oil onto each egg with a finger or brush, avoiding full coverage.
- Dye the Eggs: Stir the dye and oil mixture, then quickly roll the egg in it. Remove immediately and wipe dry.
- Dry: Let eggs sit in a carton for 5 minutes before handling further.
Notes
- This method creates beautiful and unique designs on each egg.
- Experiment with different color combinations and techniques for a variety of effects.
- Prep Time: 10 minutes
- Cook Time: 0 minutes
- Category: Crafts
- Method: Dyeing
- Cuisine: American
Nutrition
- Serving Size: 1 egg